Made to your specification

Magnetic Closure Boxes

A structured presentation with a neatly concealed magnetic close.

Discuss Your Box Project

THE FORMAT / IN MOTION

Start with the construction behind the cover.

A magnetic closure creates a deliberate opening experience for a presentation box. Start with the dimensions and weight of the contents, then develop the lid, closure position and interior fit. Printed wraps and selected finishes carry the brand across the outside and inside.

  • 01Board alignment
  • 02Cover preparation
  • 03Closure confirmed separately

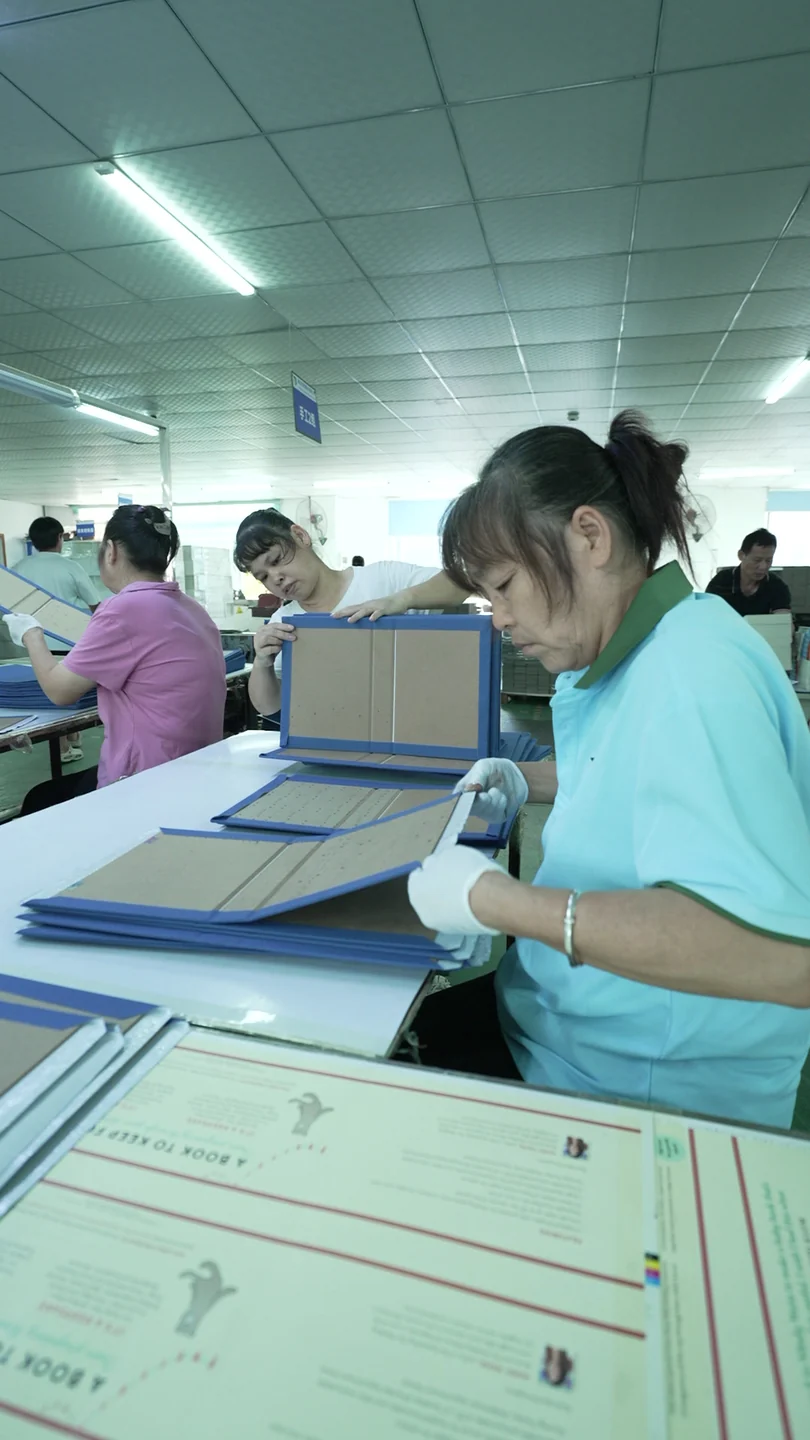
PRODUCTION STUDY / COVER ASSEMBLY

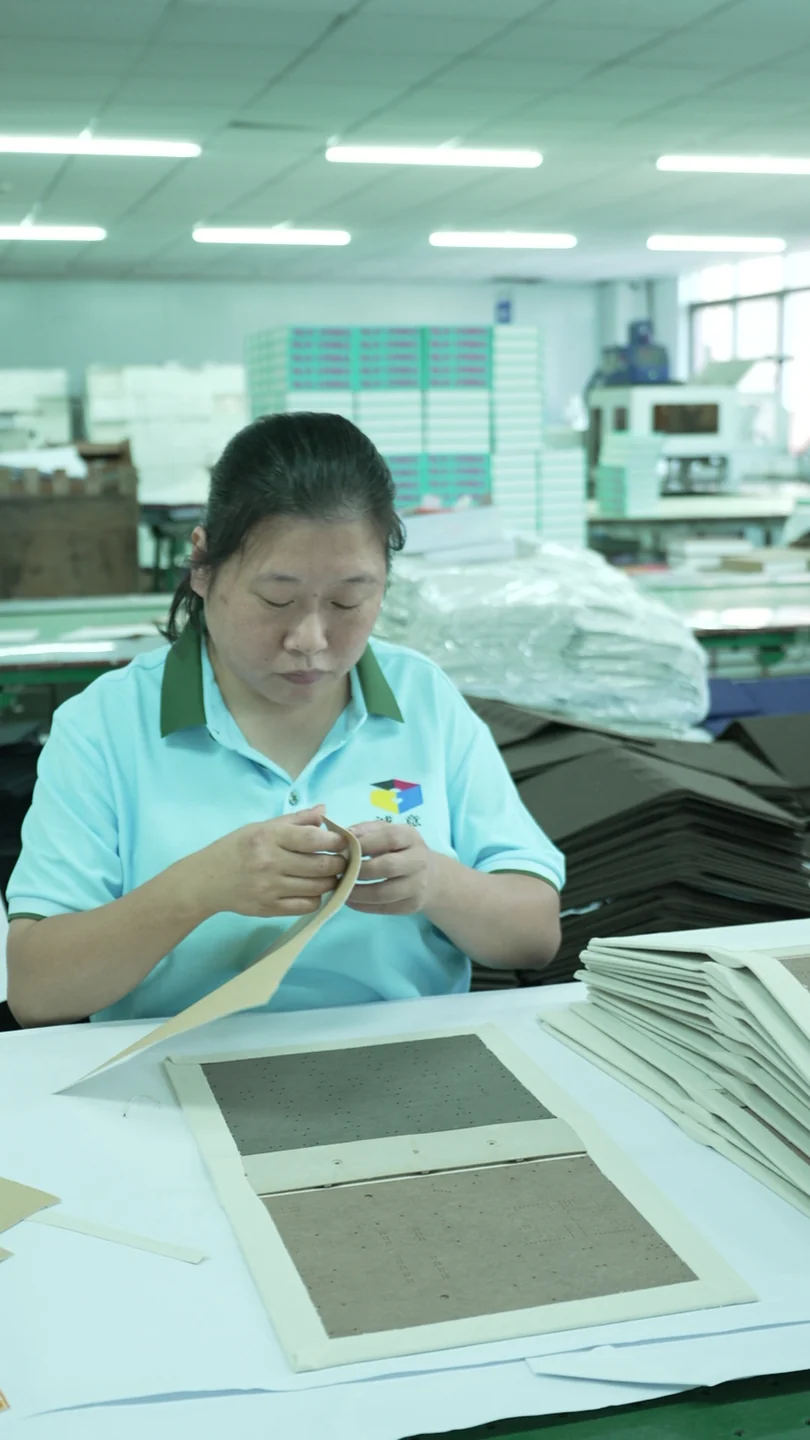
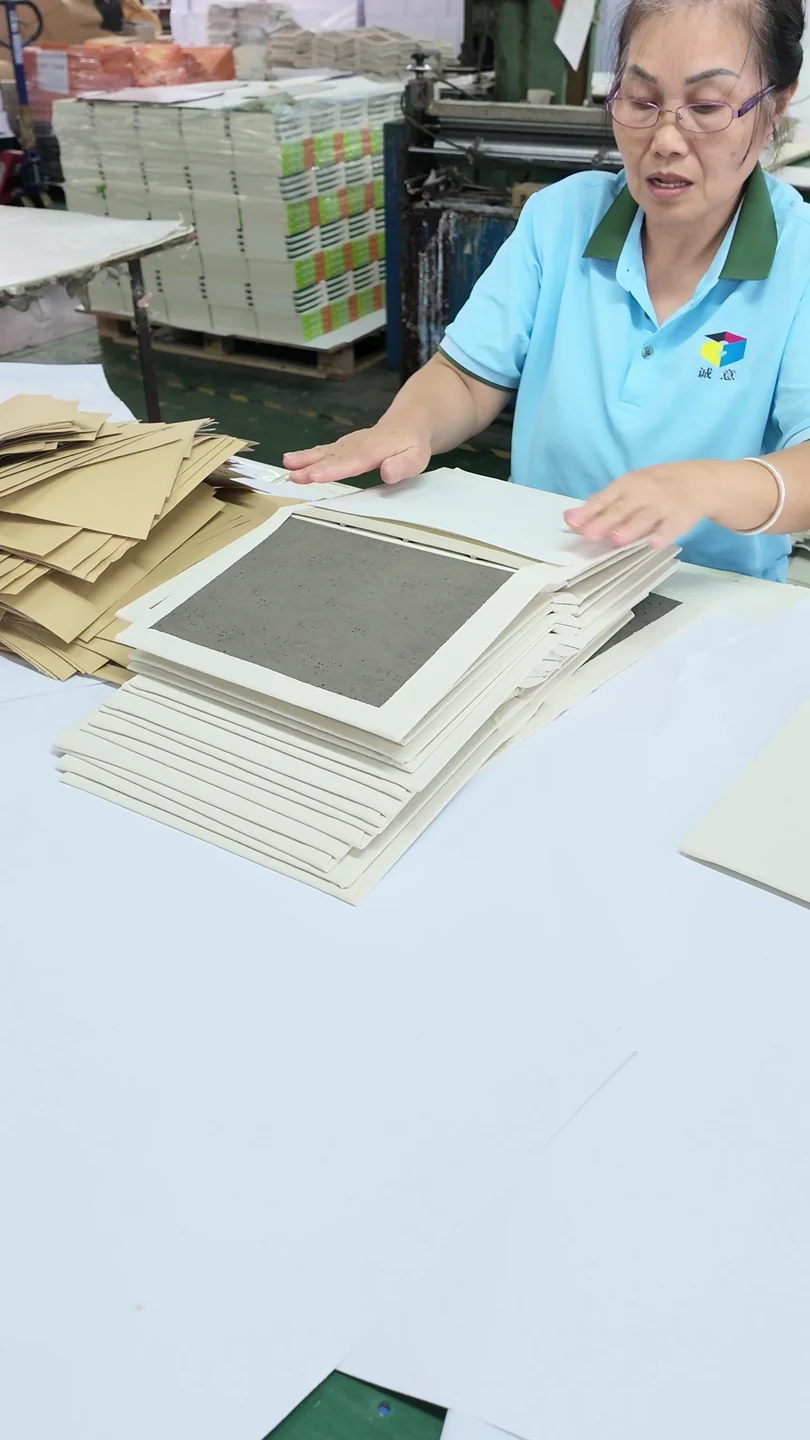
Joining a hinged coverThis workshop clip shows rigid-cover preparation and alignment. A magnet or magnetic closing action is not shown, so this is a process study rather than a finished magnetic-box demonstration.

GALLERY

The details that define the format.

Real photographs of sample details and production stages. Each caption identifies what is shown; final specifications are confirmed through sampling.
More sample & production studies Additional angles, components & workshop photographs

SAMPLE & PRODUCTION NOTEBOOK

The rigid-cover details behind the brief.

These workshop photographs show lining and rigid-cover preparation. The closure mechanism is not visible; specify magnet placement and closing behaviour for separate sample review.
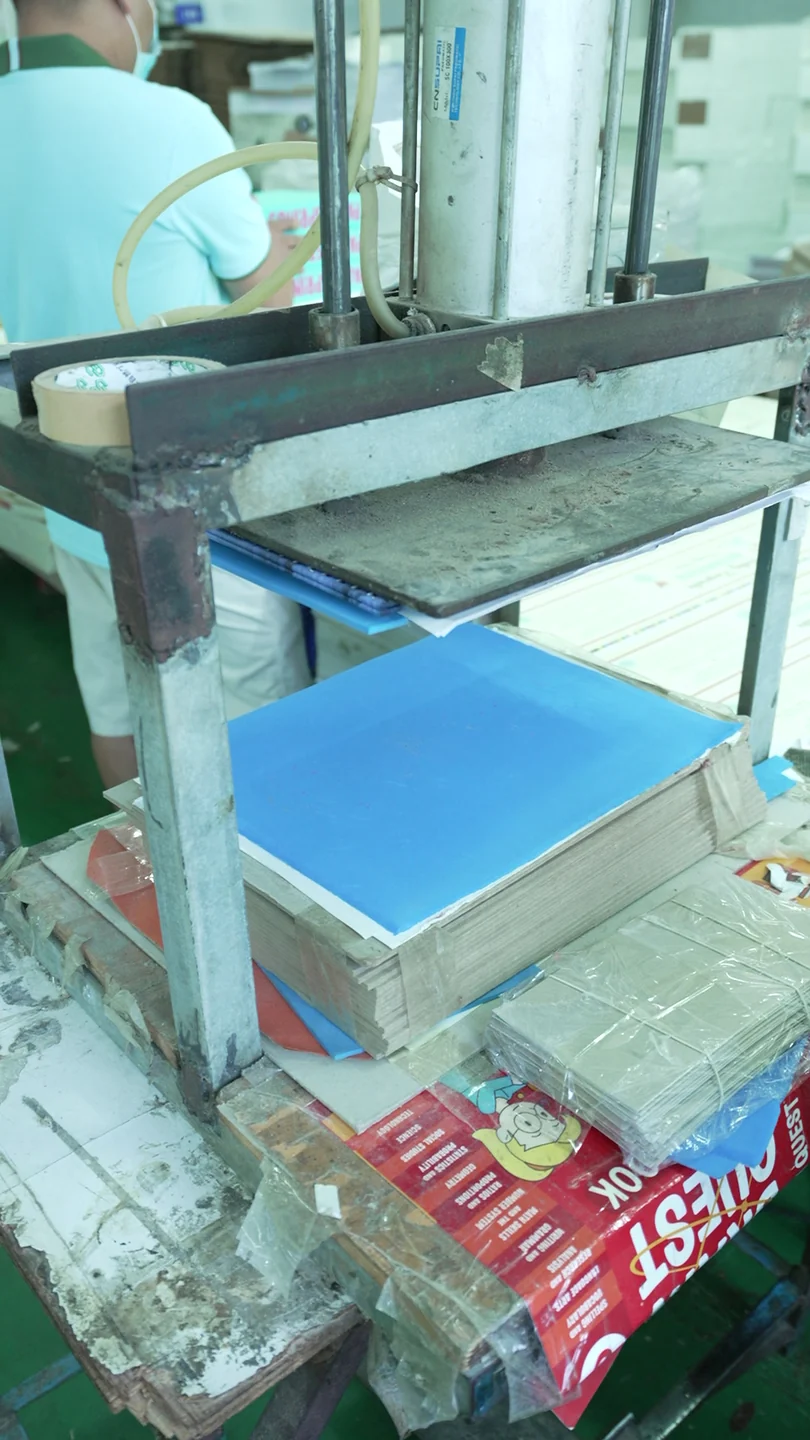
A blue board component beneath a machine platen.
01A blue board component beneath a machine platen.
Board panels and cover wraps laid out for manual assembly.
02Board panels and cover wraps laid out for manual assembly.
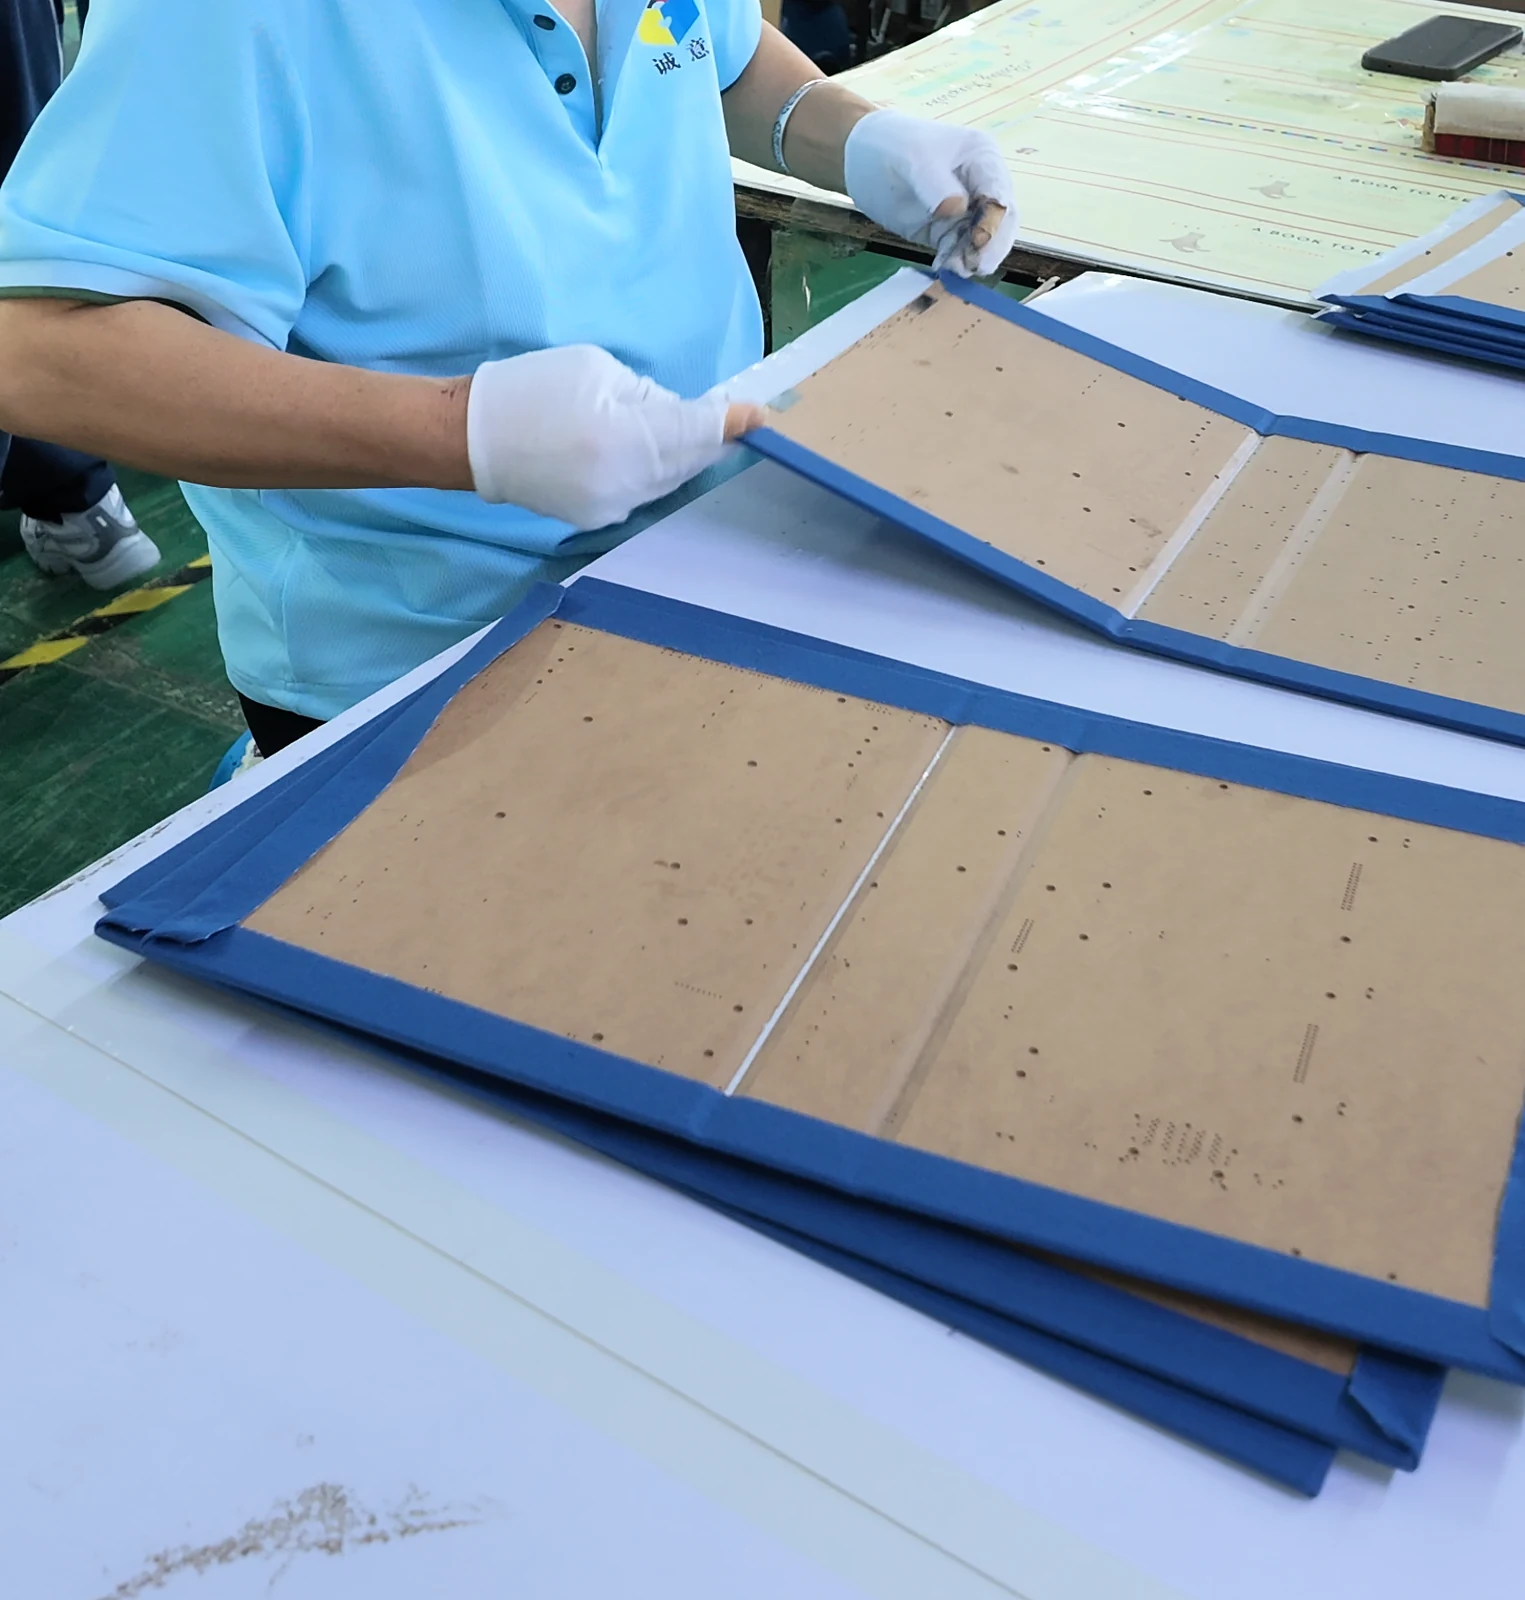
A lining edge folded over a board component during hand assembly.
03A lining edge folded over a board component during hand assembly.
A stack of lined cover components at a manual assembly table.
04A stack of lined cover components at a manual assembly table.

SPECIFICATIONS

Build the right combination.

The following options are a starting point. Final specifications, quantity and timing are confirmed for each project.

01

Size Options

  • Internal dimensions based on your product
  • Clearance for inserts and accessories
  • Lid and flap proportions reviewed on a sample

02

Materials

  • Rigid board structure
  • Printed or textured paper wraps
  • Paperboard or foam inserts, subject to product needs

03

Printing Options

  • Full-colour outside wrap
  • Coordinated interior printing
  • Brand colour references for print review

04

Finishing Options

  • Foil stamping and spot UV
  • Embossing or debossing
  • Matte or gloss lamination

CUSTOMIZATION

Adapted to your brief.

  • Magnet placement and flap design
  • Product-specific insert cavities
  • Ribbon lifts and accessory compartments

APPLICATIONS

Where this format fits.

  • Cosmetics
  • Gifts
  • Electronics
  • Premium products

PROCESS

From Idea to Production

  1. 01

    Send Your Idea

    Share references, intended use and an initial quantity.

  2. 02

    Confirm Specifications

    Review dimensions, materials, artwork and finishing.

  3. 03

    Sample & Approval

    Test closure alignment, product fit, insert access and the opening sequence.

  4. 04

    Mass Production & Delivery

    Proceed against the approved specification and agreed delivery plan.

FAQ

Before you begin.

Should I provide internal or external dimensions?

Product dimensions are the best starting point. Mark any required internal clearances and supply an existing box drawing if external dimensions are fixed.

Can the box include a fitted insert?

Share the product shape, weight and accessory layout. Insert material and cavity design can then be reviewed with the box structure.

How is the magnetic closure checked?

The sample review should check magnet placement, flap alignment and opening feel with the intended contents in place.

LET’S MAKE IT YOURS

Let’s plan your project.

Start with your idea, dimensions and intended use. Build the specification from there.

Get a Custom Quote