CUSTOMIZATION

Make the details your own.

A book or box is a combination of decisions. Develop its structure, paper and finish together, around the way it will be used.
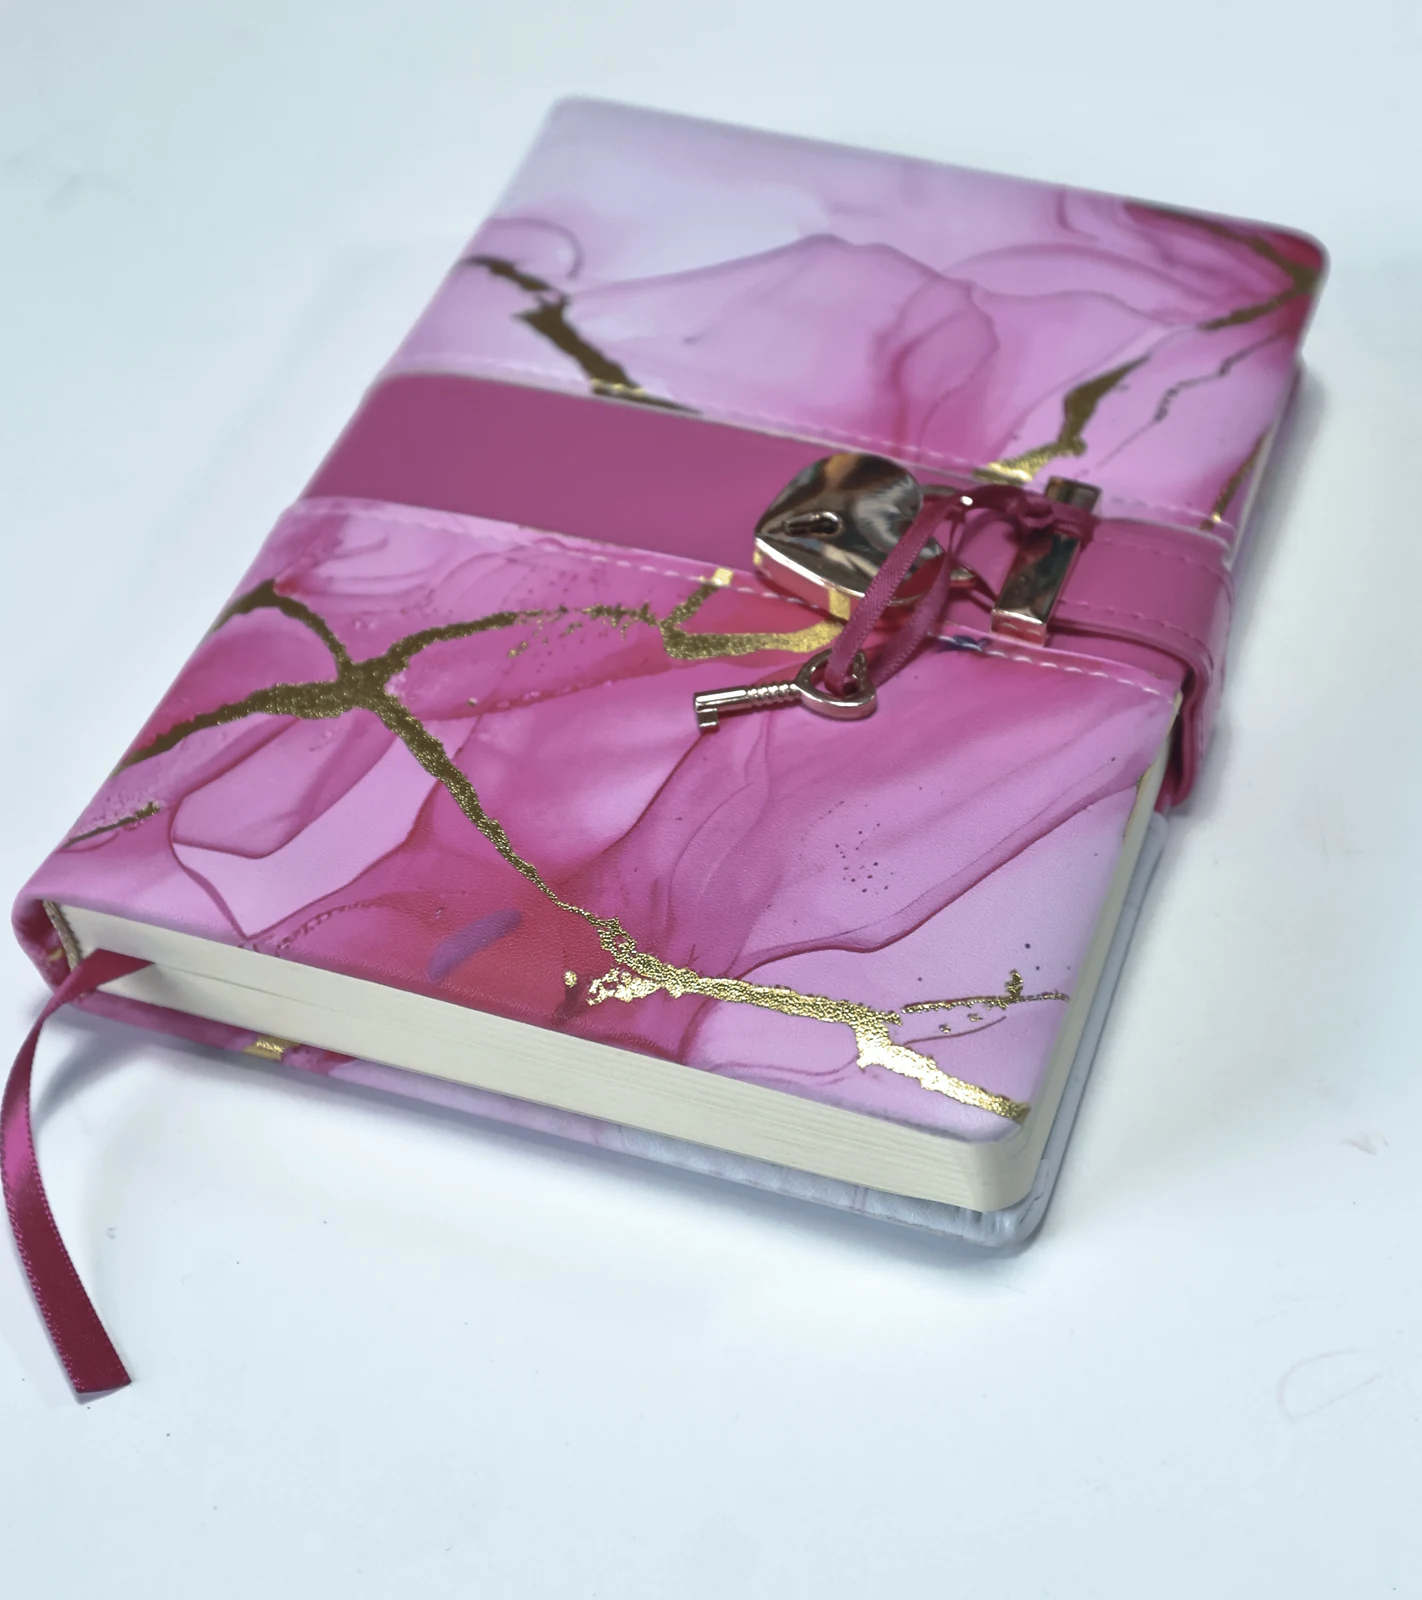
Decorative journal with metallic cover accents, a ribbon and a lock closure.
Decorative journal with metallic cover accents, a ribbon and a lock closure. Photographed sample; artwork is shown for structure and finish.
Open silver presentation box with a hinged cover and separate trays.
Open silver presentation box with a hinged cover and separate trays. Photographed sample; artwork is shown for structure and finish.

YOUR SPECIFICATION

Ten ways to shape your product.

Compatibility depends on the selected structure and materials. Use these options to guide the sample brief.

01

Custom Size

Dimensions developed around your content or product.

02

Paper & Materials

Match the surface, weight and structure to the intended use.

03

Printing

Coordinate cover, interior and packaging artwork.

04

Foil Stamping

Add a metallic detail to selected areas.

05

Embossing / Debossing

Introduce raised or recessed surface details.

06

Spot UV

Contrast selected gloss areas with the surrounding finish.

07

Lamination

Choose a matte or gloss surface treatment.

08

Inserts

Plan product fit, spacing and removal.

09

Ribbon

Consider markers, closures or lifting details.

10

Magnetic Closure

Review a concealed closure for suitable box structures.

PLAN THE CONTENTS

Choose the format around what goes inside.

A printed book, a planner and a presentation set need different page arrangements. Reference photographs help explain the idea; a sample confirms the construction.
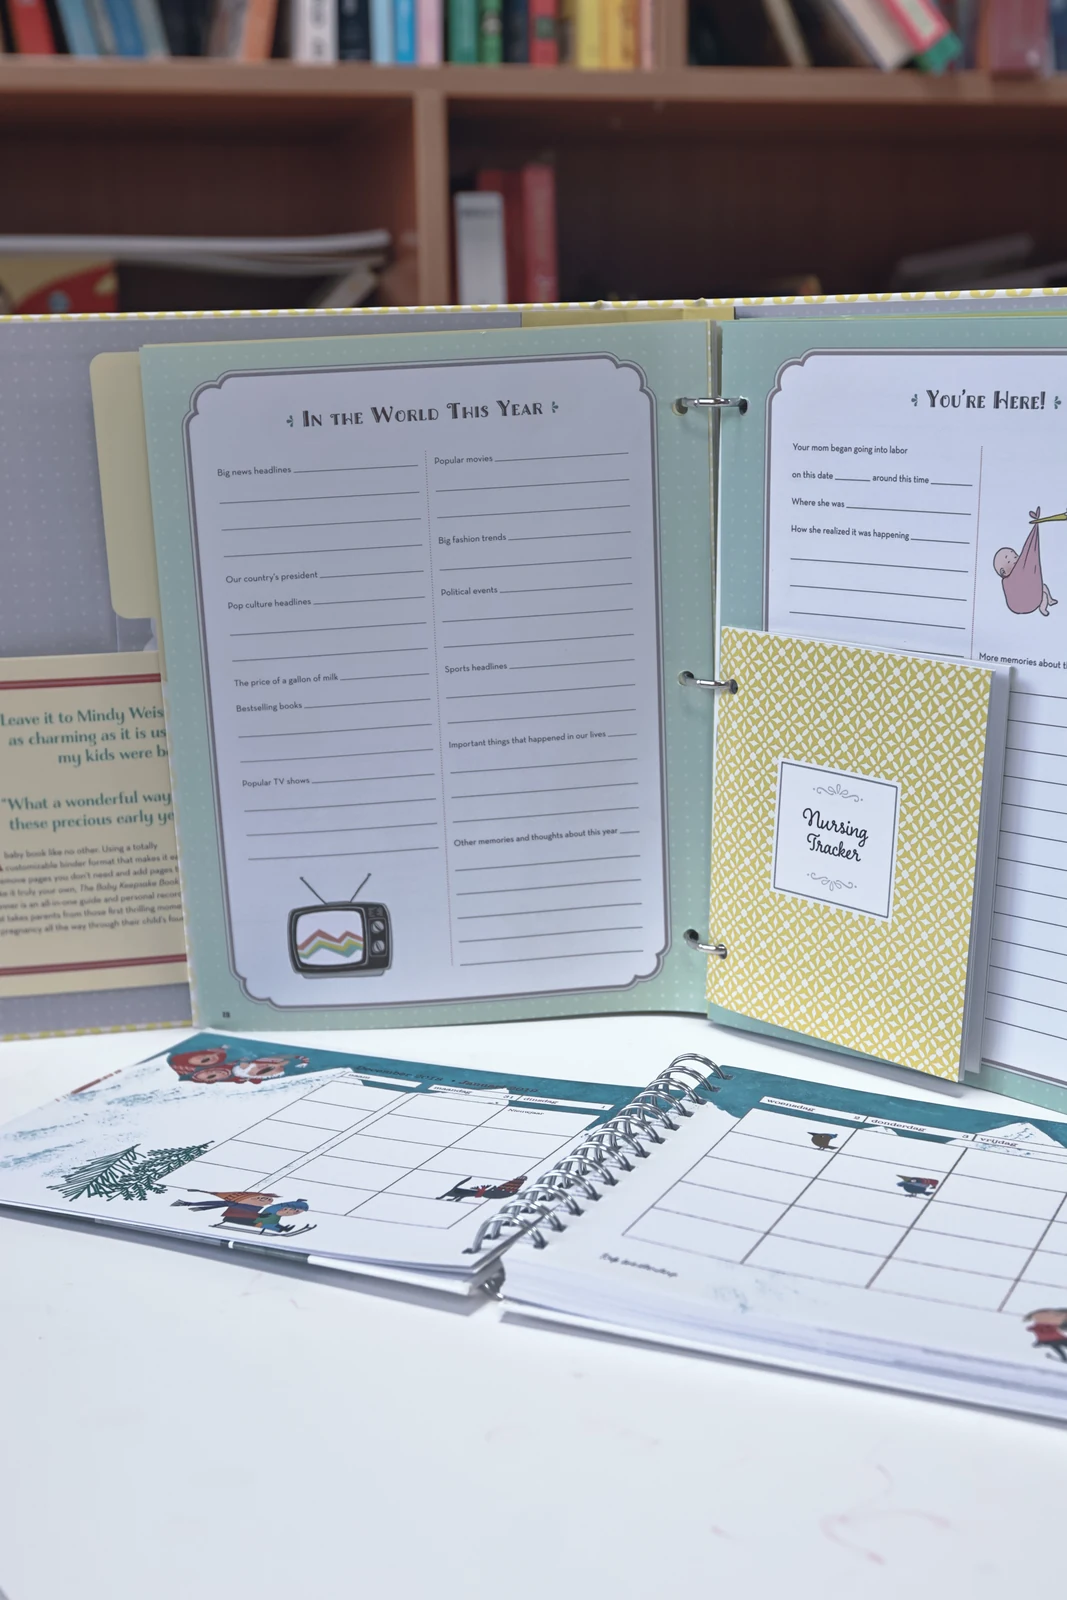
Ring-bound and wire-bound printed page formats displayed together.
Ring-bound and wire-bound printed page formats displayed together. Photographed sample; artwork shown for structure only.

The photograph includes ring-bound and wire-bound formats. It is a page-layout reference, not evidence of hardcover binding or a magnetic closure.

THE SURFACE & THE STRUCTURE

Bring colour, format and interior together.

Printed panels and shaped cases are starting points for a specification. Confirm materials, finishing and construction together through sampling.
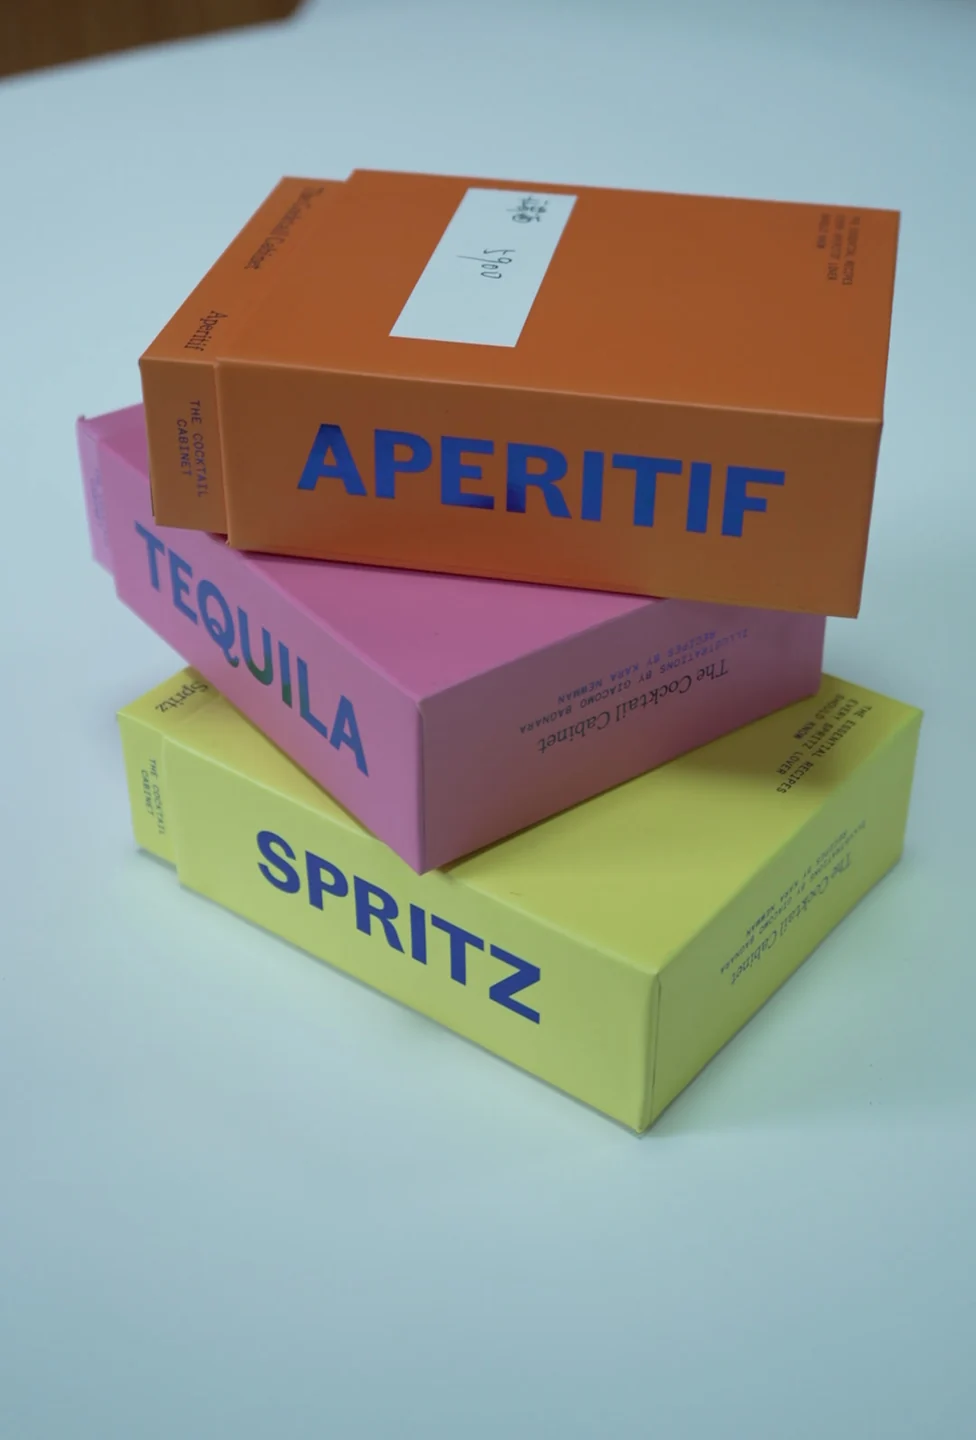
Three printed rigid-box samples stacked to show contrasting colours and side panels.
01Three printed rigid-box samples stacked to show contrasting colours and side panels. Sample artwork shown for structure only.
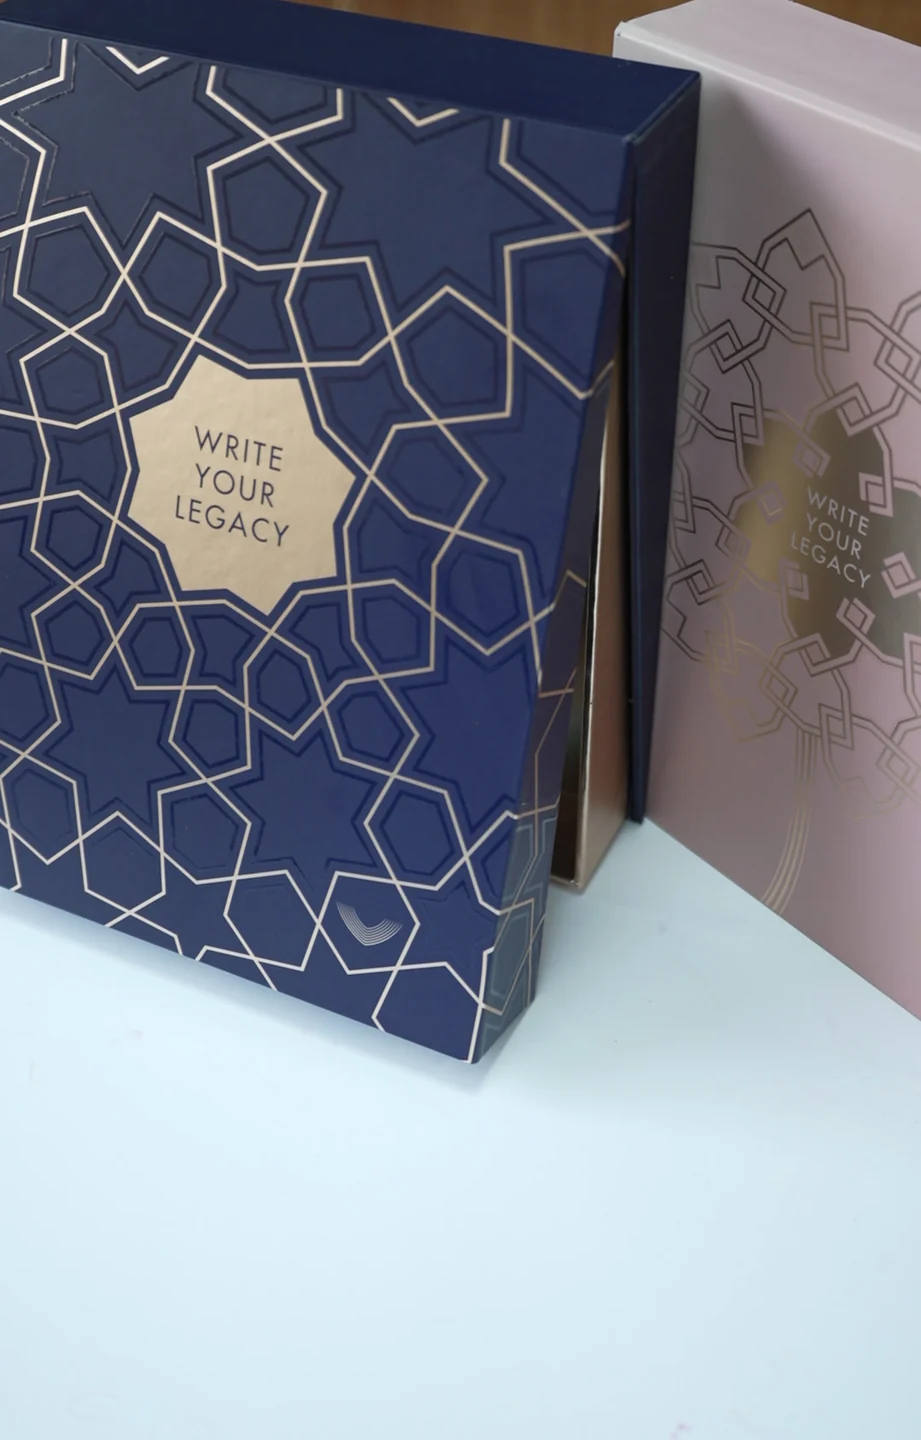
Two book-shaped presentation samples with patterned outer panels.
02Two book-shaped presentation samples with patterned outer panels. Sample artwork shown for structure only.
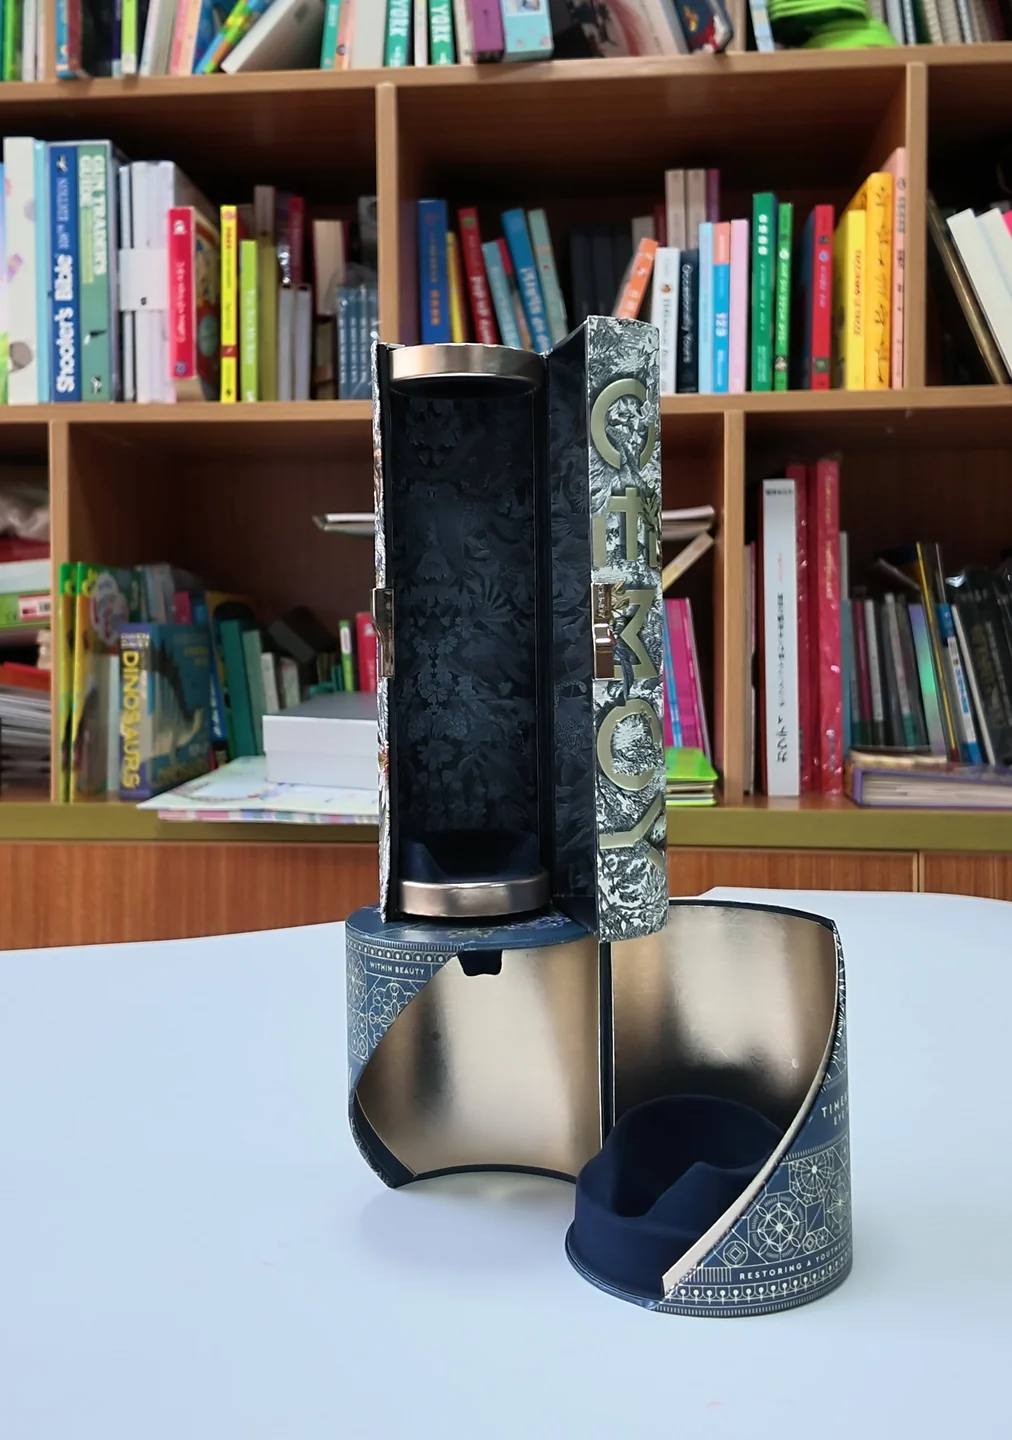
A curved presentation case displayed upright beside its open outer shell.
03A curved presentation case displayed upright beside its open outer shell. Sample artwork shown for structure only.
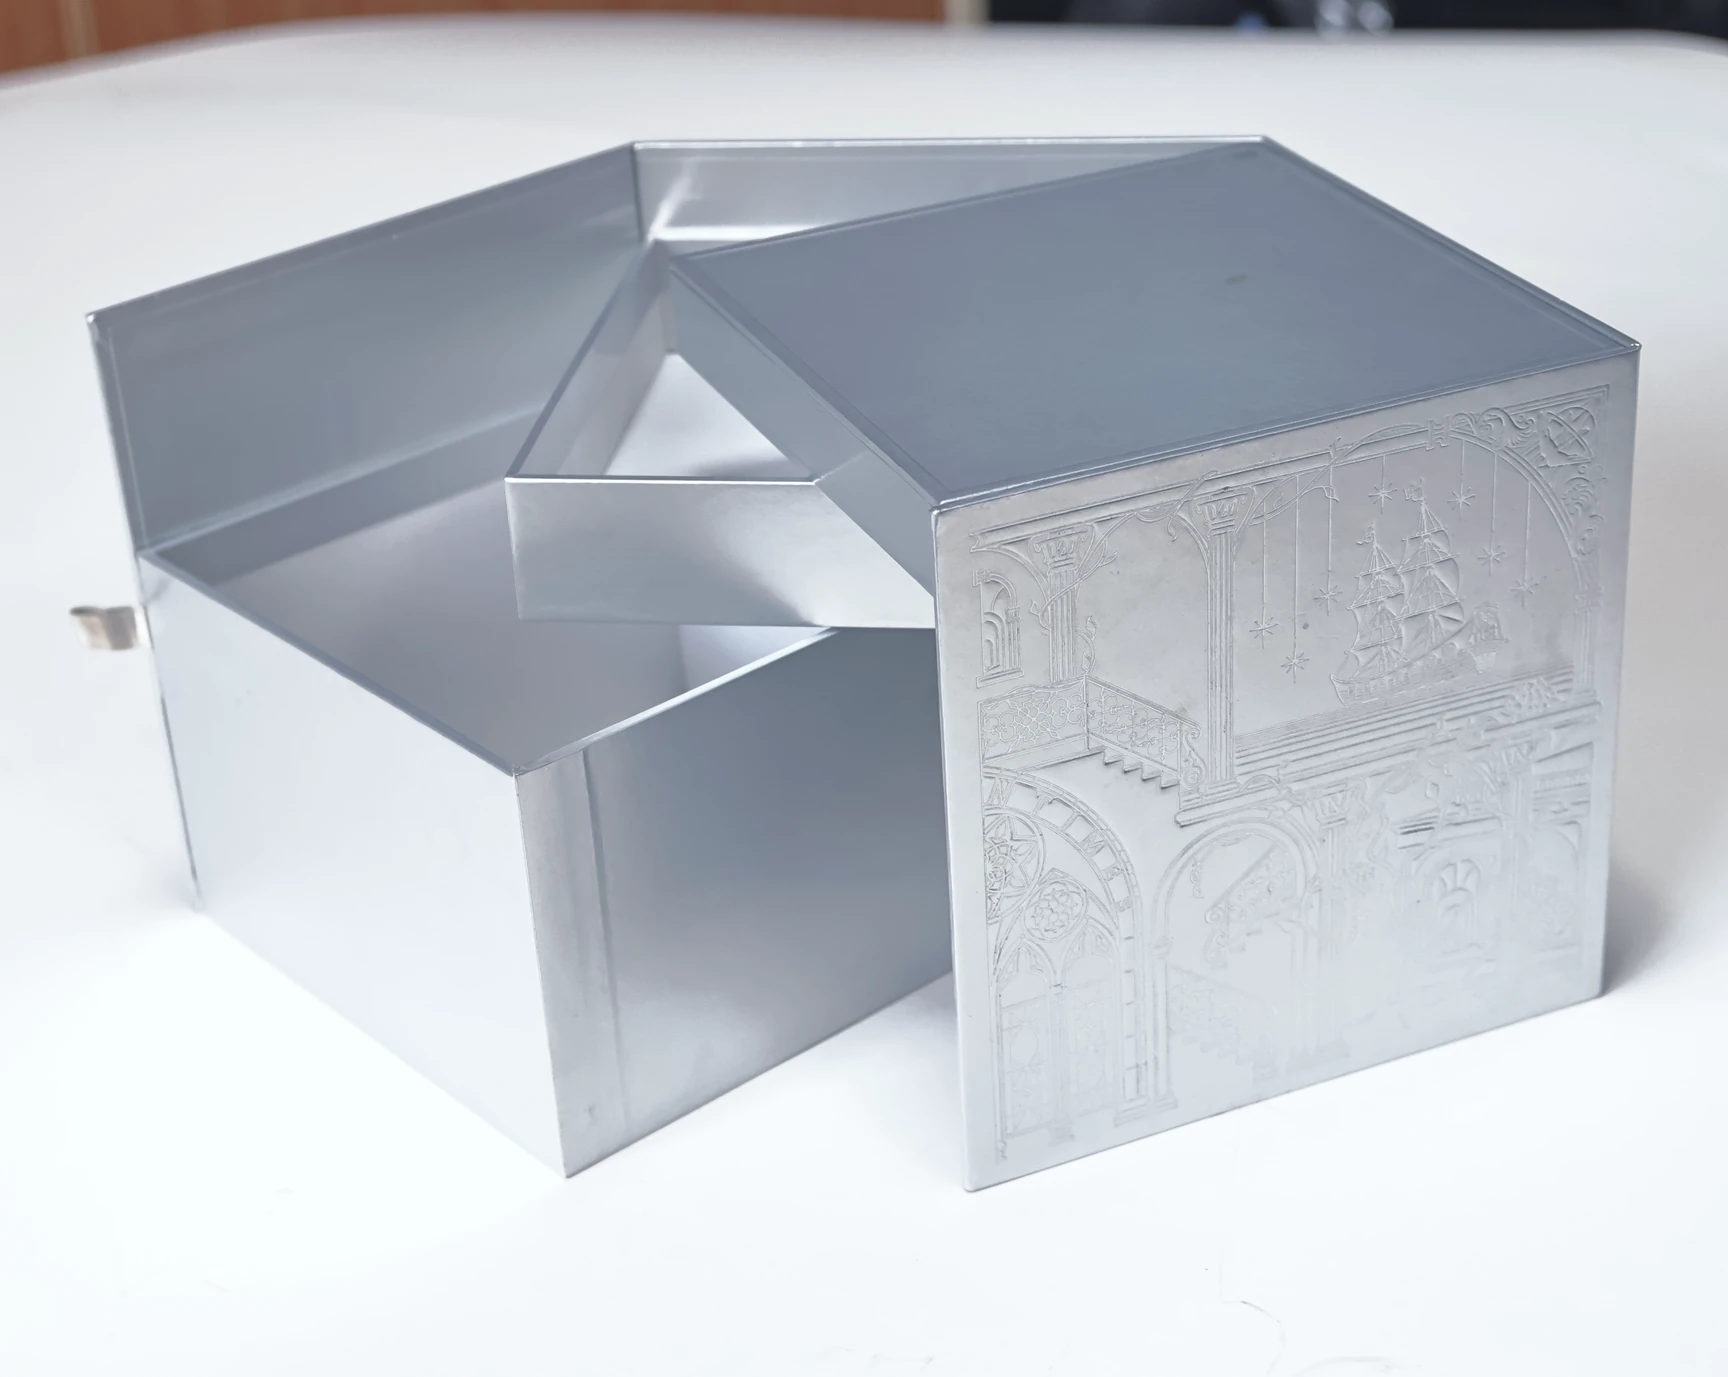
Silver presentation-box components arranged to show the separate inner trays.
04Silver presentation-box components arranged to show the separate inner trays. Sample artwork shown for structure only.

Consider the volume within.

SHAPED CASES / LINED INTERIORS
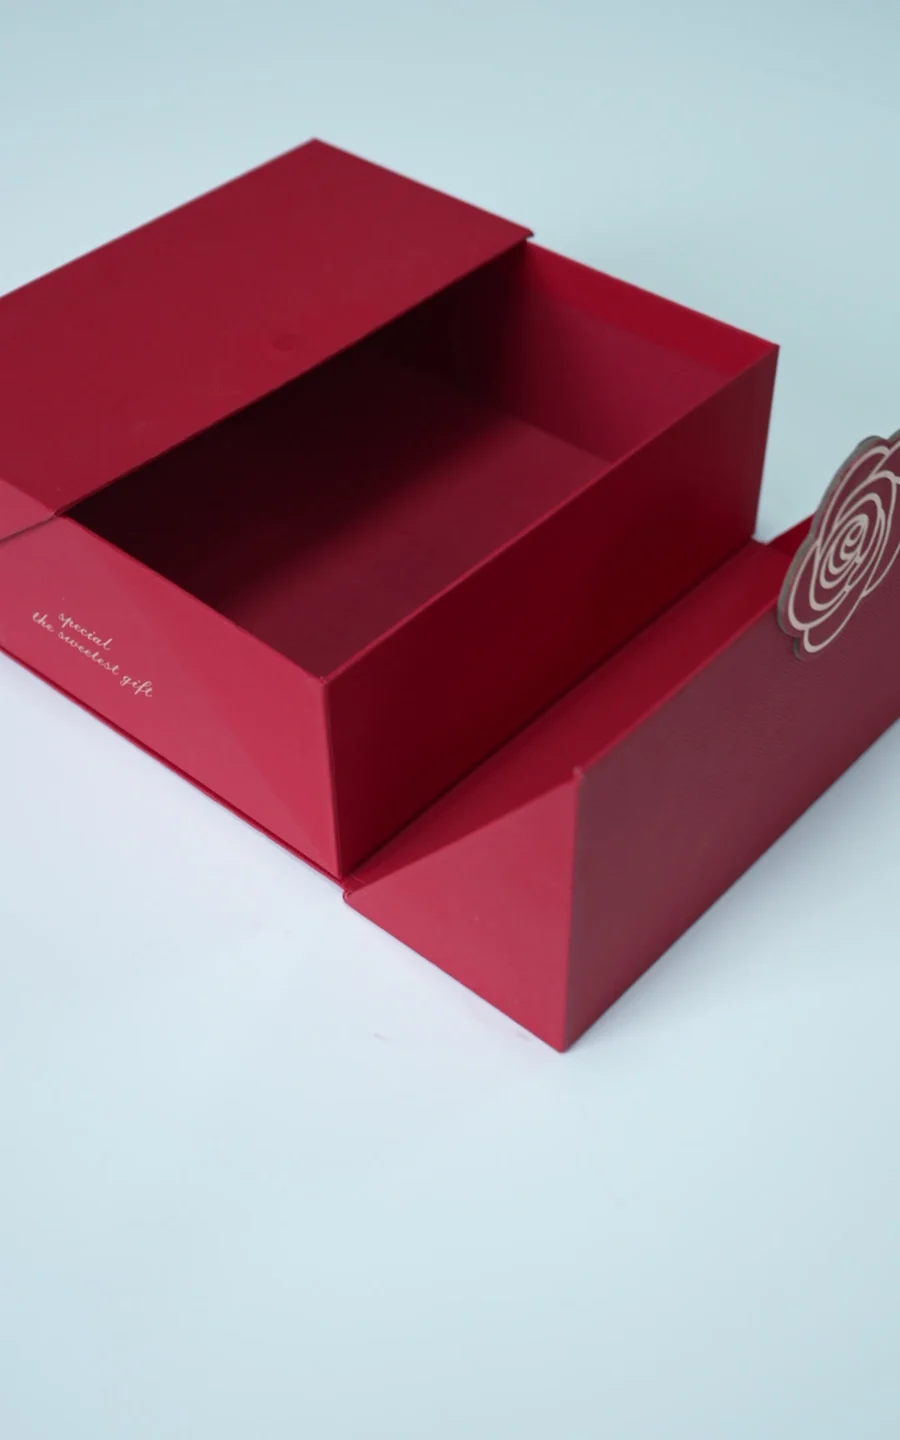
A red presentation-box sample opened to reveal the inner compartment.
01A red presentation-box sample opened to reveal the inner compartment. Sample artwork shown for structure only.
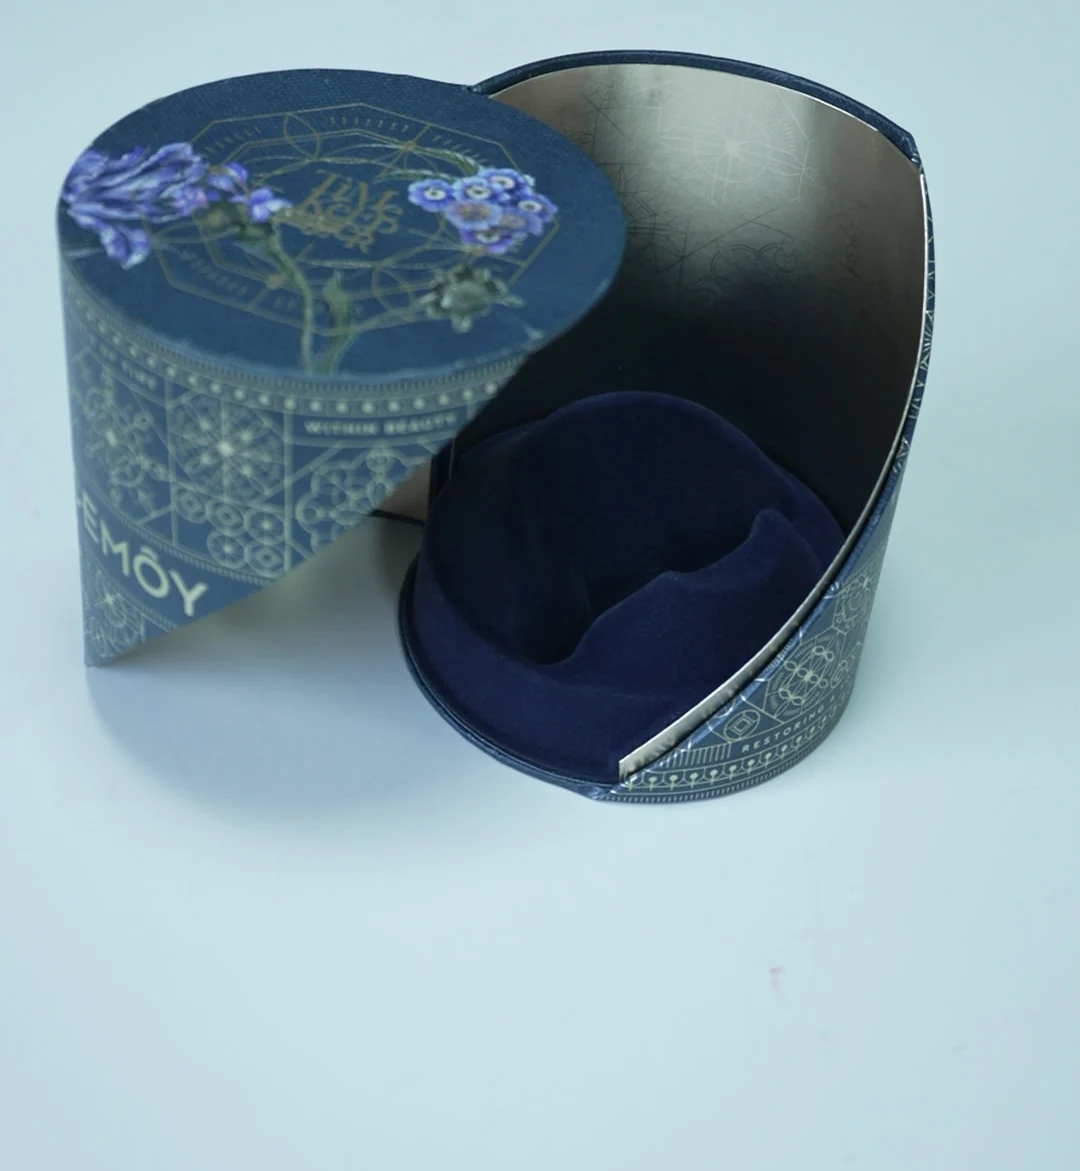
An open curved presentation case showing its lining and rounded end panels.
02An open curved presentation case showing its lining and rounded end panels. Sample artwork shown for structure only.
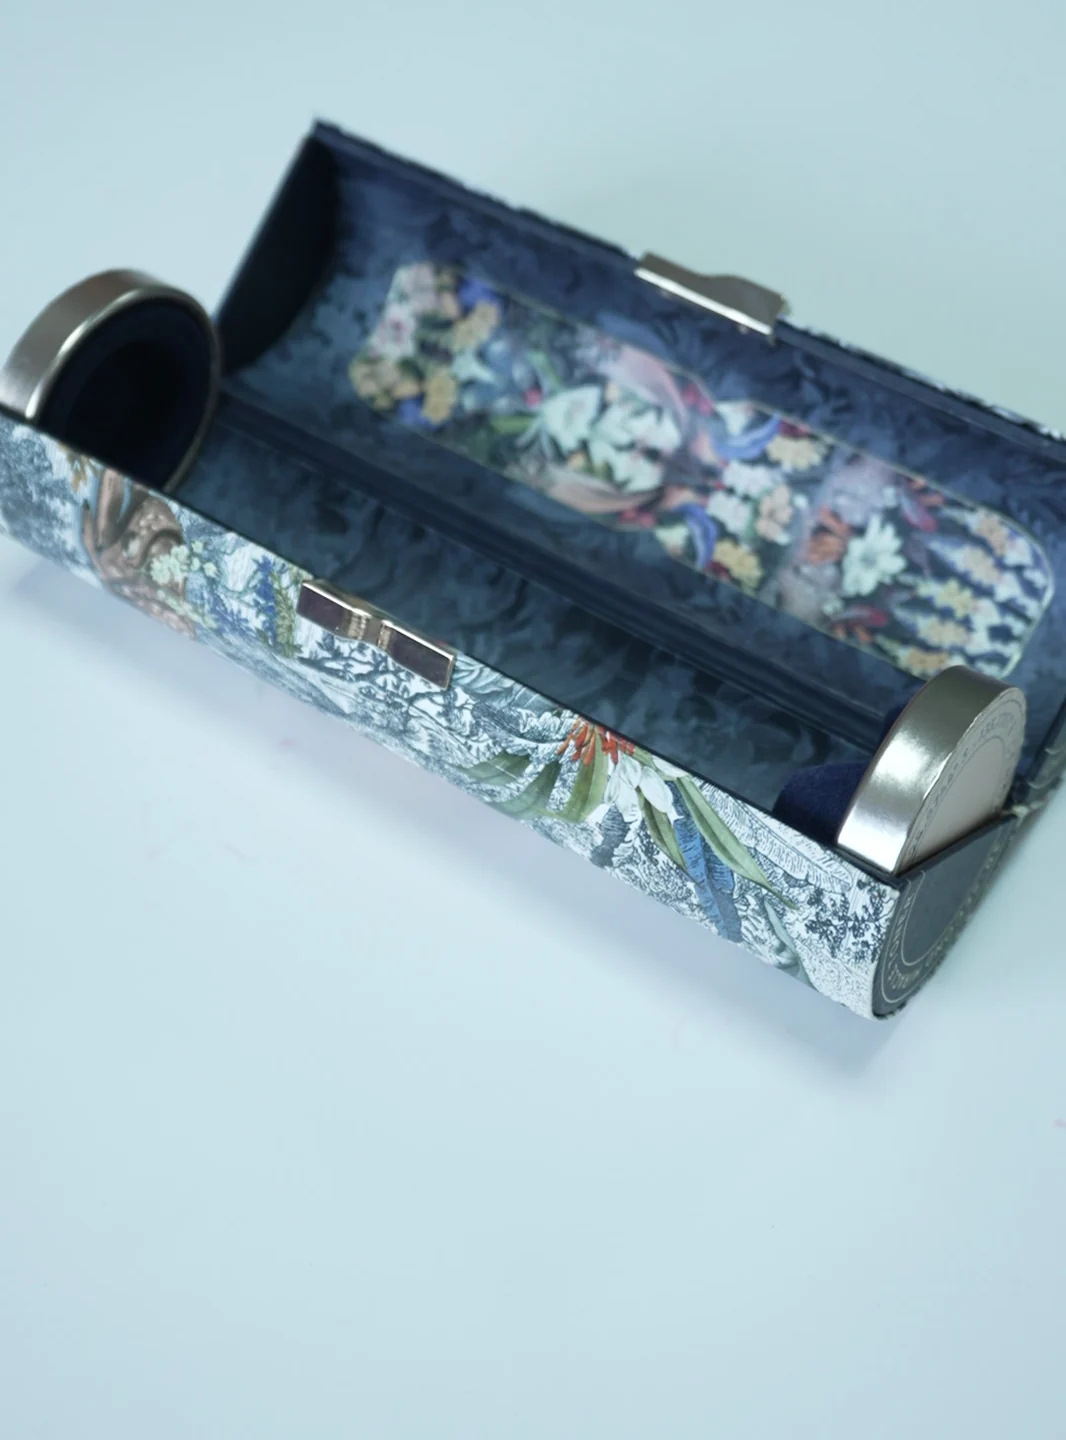
An open shaped presentation case with a dark fabric-lined interior.
03An open shaped presentation case with a dark fabric-lined interior. Sample artwork shown for structure only.

Where the printed sheet meets the board.

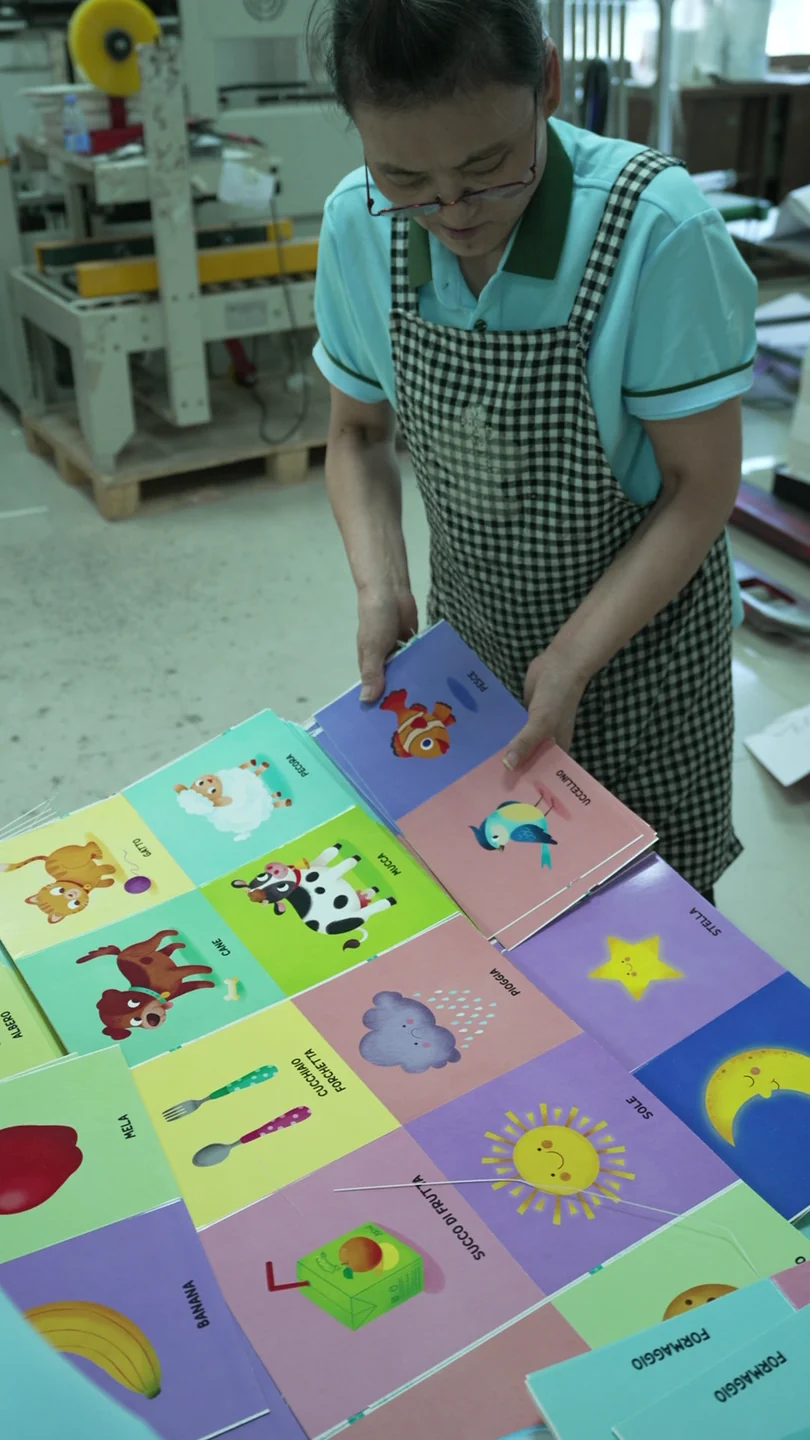
Printed sheets laid out and handled on a production table.
01Printed sheets laid out and handled on a production table.
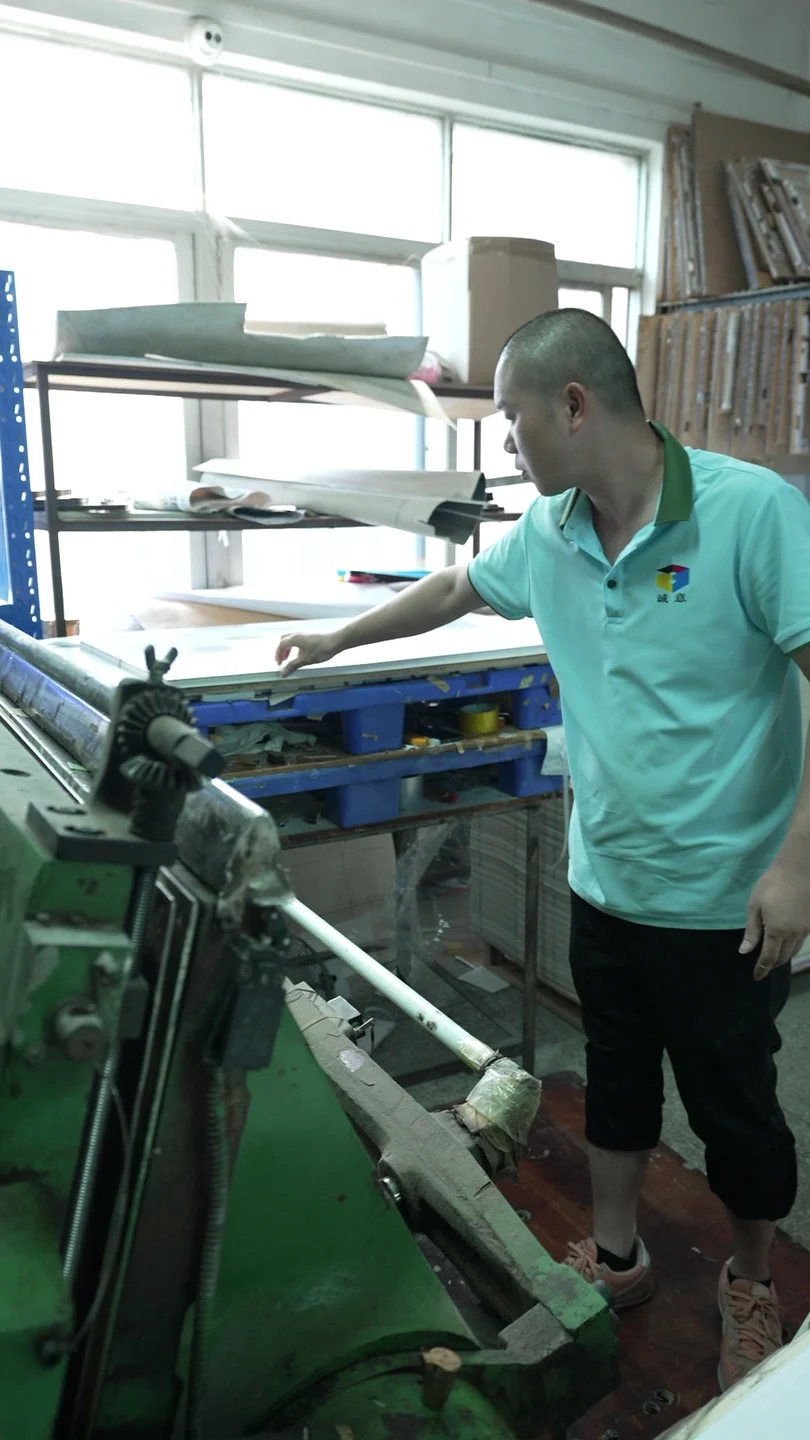
An operator lifting a printed sheet from a machine table.
02An operator lifting a printed sheet from a machine table.
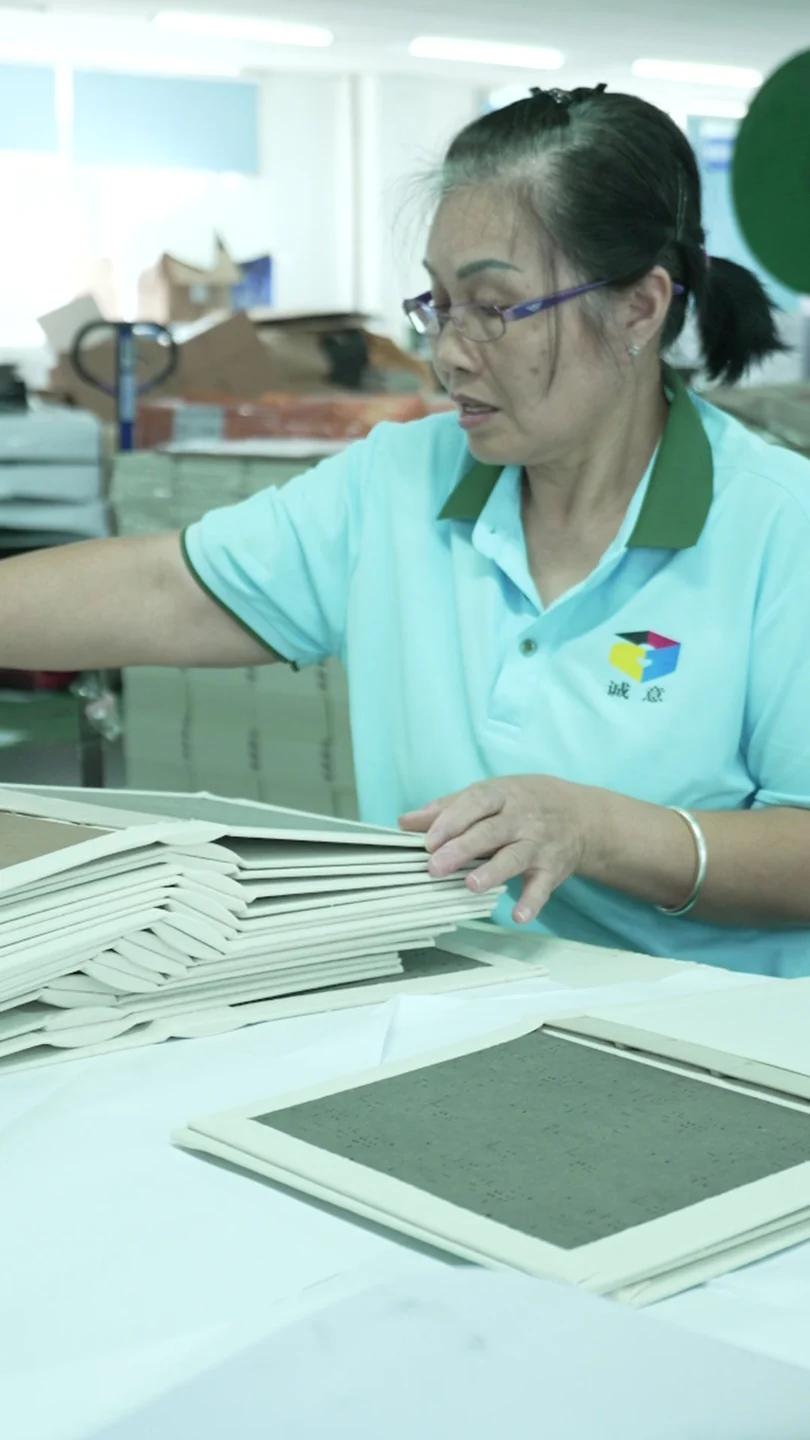
Lining pieces positioned by hand on rectangular board components.
03Lining pieces positioned by hand on rectangular board components.

BEFORE SAMPLING

A useful brief makes a difference.

Bring the intended use, finished dimensions and reference artwork. For boxes, include product dimensions and weight. For books, include page count and an outline of the interior.

If you have specific market, material or testing requirements, include them at the start. Final details are subject to specification and sample review.

PROCESS

From Idea to Production

  1. 01

    Send Your Idea

    Share references, intended use and an initial quantity.

  2. 02

    Confirm Specifications

    Review dimensions, materials, artwork and finishing.

  3. 03

    Sample & Approval

    Review the physical details before confirming production.

  4. 04

    Mass Production & Delivery

    Proceed against the approved specification and agreed delivery plan.

LET’S MAKE IT YOURS

Tell Us About Your Project

Start with your idea, dimensions and intended use. Build the specification from there.

Get a Custom Quote